File Level Restores from Zerto Journal
Today I wanted to walk-through a Zerto journal file restore. This feature has been available since version 4.5 but fills such a crucial need in many organizations. The recovery process allows you restore a file or folder utilizing any checkpoint in the journal. When compared to traditional nightly backups, this can be a game changer when it comes to data loss. With Zerto RPOs typically in seconds, you can granularly restore data back to the moment right before data corruption or loss.
The process is super simple. Initiate the File Restore from the Zerto Virtual Manager (ZVM). After you select the point in time for the restore, the disk will be mounted on the recovery ZVM enabling files and folders to be downloaded in your browser and restored.
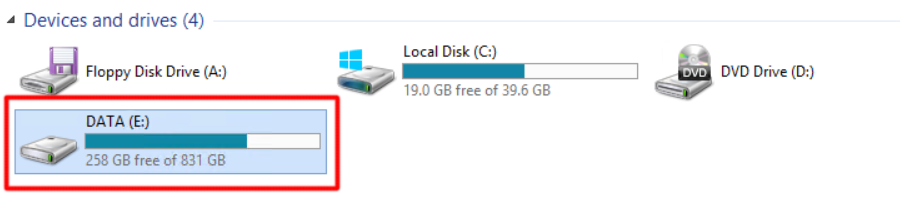
One item I want to elaborate on is the downloading and restoring of the files or folders. As mentioned above, when restoring from the ZVM, your files will be downloaded to the local machine you initiate the download from. This download will go into the user’s download folder which is fine if you don’t mind manually moving the files to the correct location. However, if you want more control over where the files go, you can recover files straight from the mounted disk. The disk containing the restore data will be mounted to the Recovery side ZVM. Once mounted, you can access the drive through file explorer. From there you can copy the data as you please.
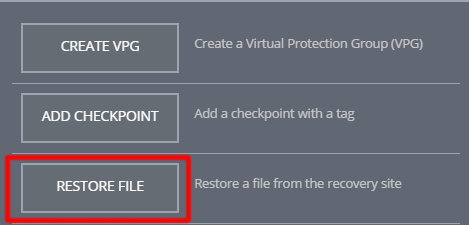
Let’s walk through the process. Log into your ZVM and click the Actions tab from the bottom pane.

Select the Restore File option.
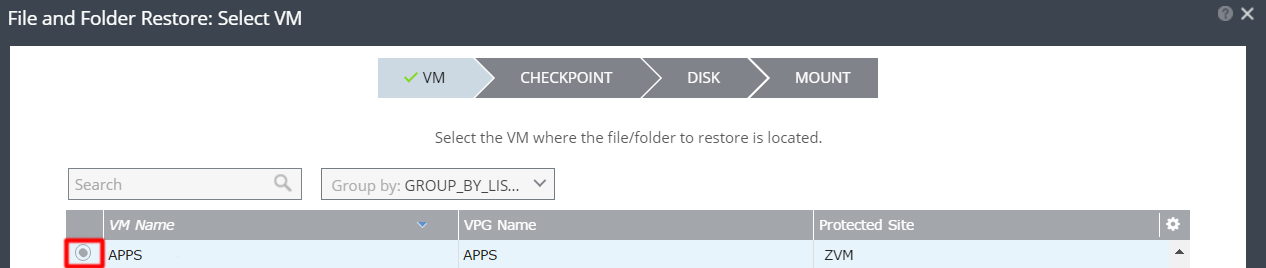
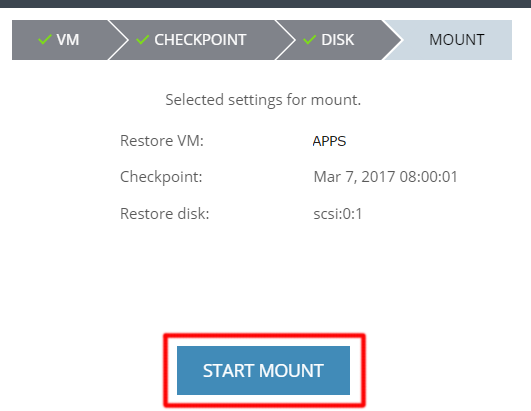
Next, select the appropriate VM.
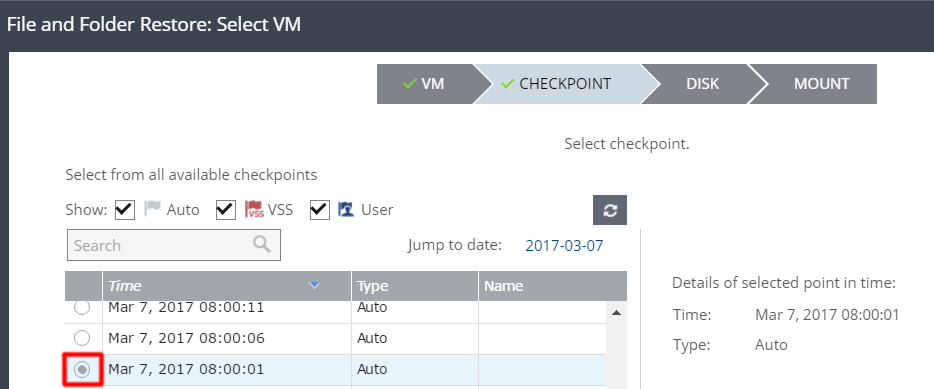
Select the point in time of the restore.
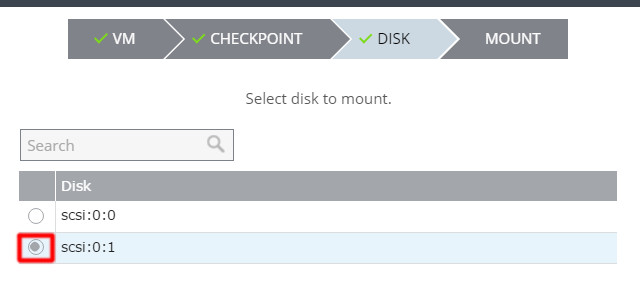
Select the disk where the file resides.
Finally, click Start Mount to begin the process.
Before the mount takes place, you will see a warning stating the process may take several minutes. Select OK to continue.

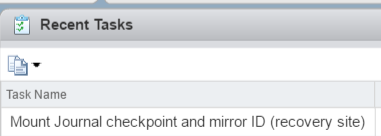
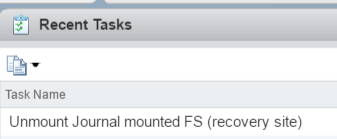
The mount process will now begin. You can monitor progress in the ZVM Tasks as well as in vCenter’s Recent Tasks.

Once the mount is complete, you are ready to restore. As mentioned above, if you go to the Recovery side ZVM itself, you can access the mounted disk from file explorer. From that disk, you can move files as needed.
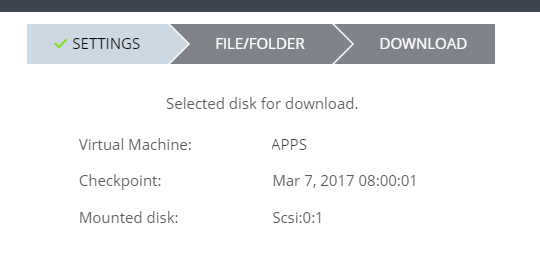
If you would like to restore from the Wizard, click the folder icon in the ZVM GUI.

A settings page will appear recapping the disk mount selected previously.
Next, select the file/folder you would like to restore.

Finally, the wizard will present a recap of the restore items. If you are downloading a folder or multiple files, you can choose to download as a compressed zip file. When ready, select Download and the files/folder will be downloaded to your local machine’s Download folder.

You can now manually move the downloaded files to the recovery location.
Once you are done with the restore, under Tasks, press the Stop button.

The journal disk will then be unmounted.
The file restore process is now complete. If you are looking for additional ways to restore data from Zerto, check out this post on restoring a database from a failover test.