Install Nested ESXi 6.5 on Ravello
Recently, I had the opportunity to test a nested lab deployment on Oracle’s Ravello Cloud Service. If you are unfamiliar with Oracle’s Ravello offering, it enables you to deploy your VMware or KVM workloads on Oracle Public Cloud, AWS, or Google Cloud. Ravello seamlessly runs your environment on top of their own nested hypervisor, HVX. HVX, in turn, is run on resources provisioned by Oracle, AWS, or Google Cloud. Utilizing Ravello’s HVX hypervisor allows the underlying cloud infrastructure to behave like your traditional datacenter; thus, enabling you to run your VMware workloads without modification.
Due to additional layers of abstraction, nested environments are prone to performance bottlenecks compared to bare metal offerings like VMware Cloud on AWS. To address this issue, Oracle recently announced the ability to run HVX on top of bare metal servers with the Oracle Cloud Infrastructure (OCI); therefore, eliminating a layer of abstraction.
Ravello on OCI or AWS/Google Cloud
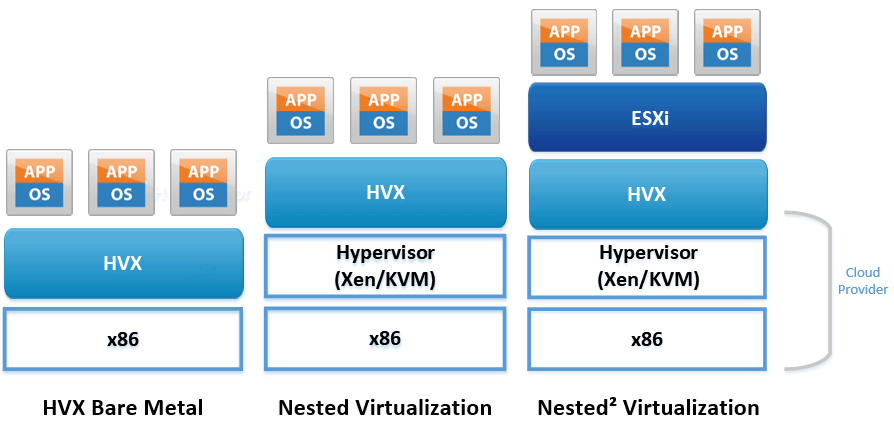
Depending on the cloud region used for deployment, one of three nested virtualization approaches are used for running your workload; software-assisted, hardware-assisted, and direct on bare metal.
Software-assisted nested virtualization is Ravello’s traditional approach to running workloads on AWS or Google Cloud. In these instances, the underlying hardware virtualization extensions are not typically exposed to Ravello. Therefore, HVX uses binary translation with direct execution to run workloads.
Hardware-assisted nested virtualization leverages exposed virtualization extensions on the underlying cloud hardware. Running on Oracle’s Cloud Infrastructure (OCI), HVX has complete access to these hardware extensions, which increases performance over software-assisted nested virtualization.
Oracle Cloud Infrastructure (OCI) also supports the ability to run directly on bare metal servers. This results in increased performance as there is no need for any additional software or hardware translations.
Regardless of region or performance, Ravello provides a variety of use-cases for your workloads including development, testing, sales demos, POCs, and even VCAP lab preparations.
In this post, we are going to install VMware ESXi 6.5 on Ravello’s Cloud Service for testing purposes. The ability to run additional hypervisors (Nested²) such as VMware ESXi, KVM, or Hyper-V is beneficial in testing or lab prep scenarios.
Upload VMware ESXi ISO to Ravello Library
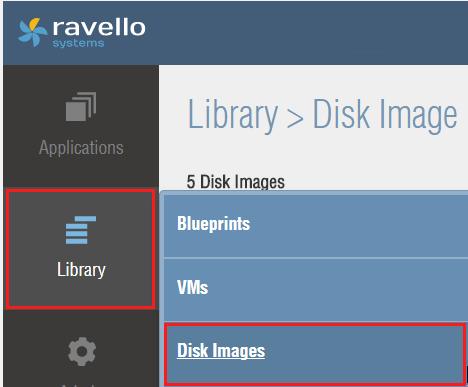
The first step in our process is to upload the VMware vSphere 6.5 ISO to our Ravello Disk Image Library. This process is executed using the Ravello VM Import tool. Let’s begin by logging into our Ravello account and navigating to the Disk Images located under the Library tab.
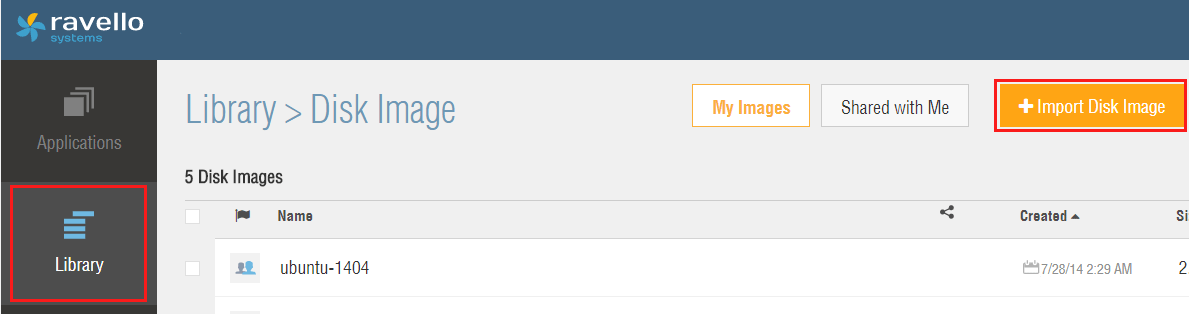
Select the Import Disk Image button in the top right-hand corner.
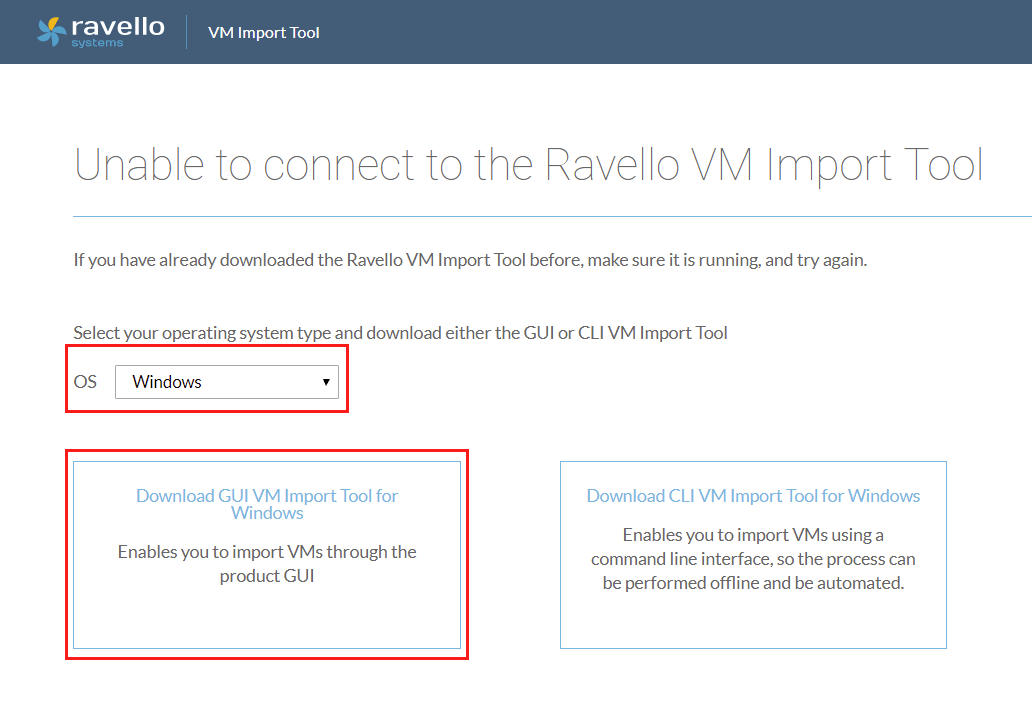
If you do not have the Ravello VM Import Tool installed, you will be prompted to do so now. Select the appropriate Operating System and Import Tool type. This tutorial utilizes the GUI Import Tool for Windows.
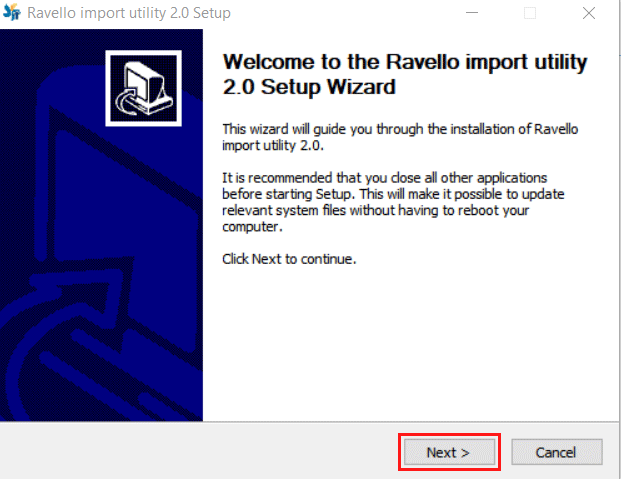
Once the tool has downloaded, kick off the installation wizard. To begin setup, click Next.
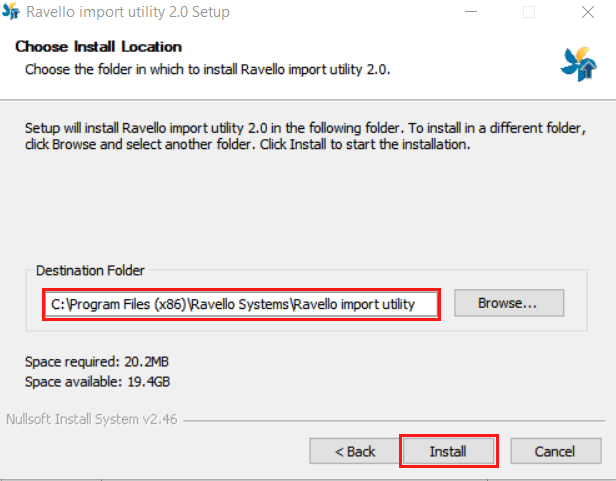
Select the folder in which to install the Ravello Import Utility 2.0. Click Install to start the installation.
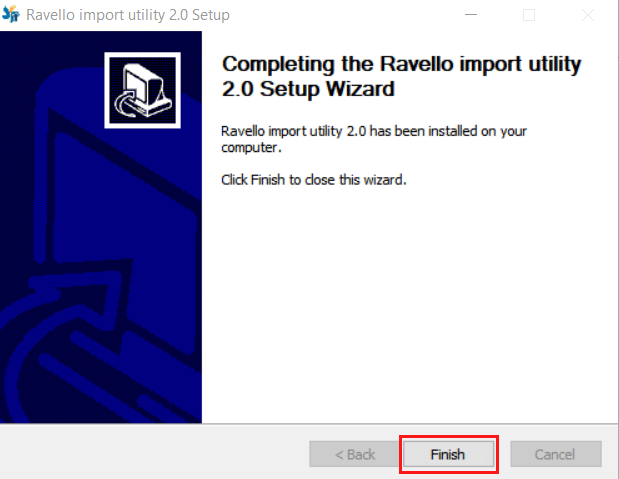
Once the tool has been successfully installed, click Finish to close the setup wizard.
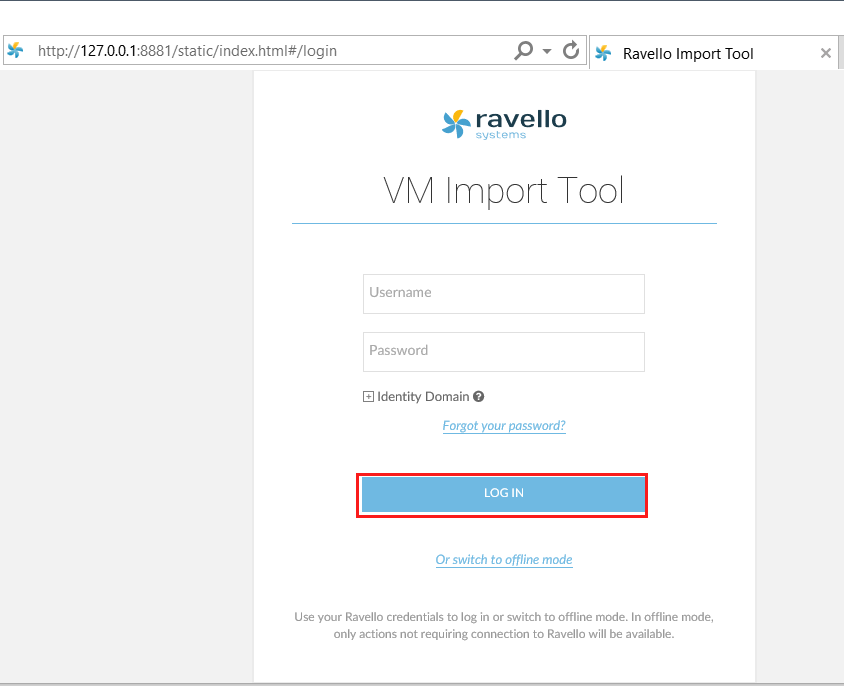
If the Import Tool does not start automatically, launch the application from your programs. Log into the application with your Ravello account credentials.
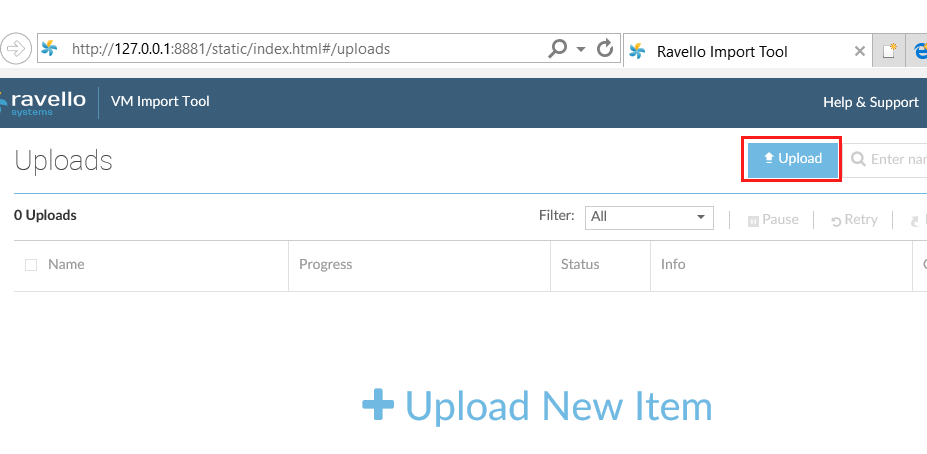
Once logged in, click the Upload button.
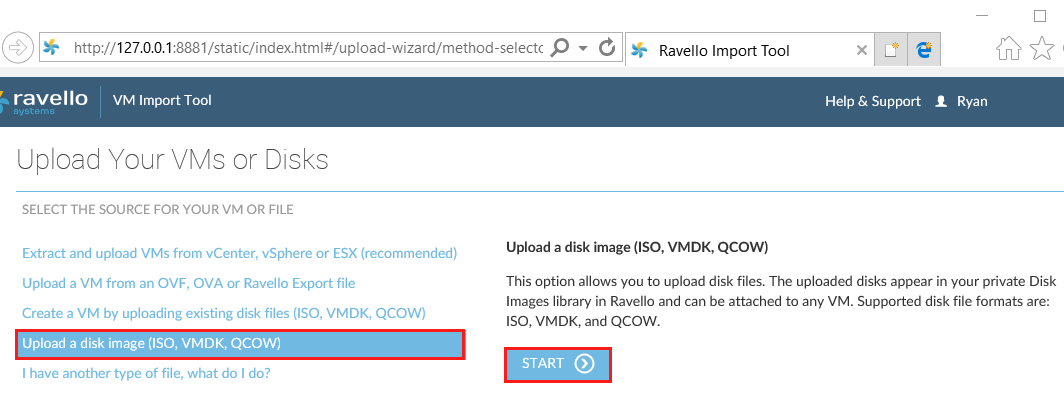
Select the VM or File Source. For the ESXi ISO, we utilize Upload a disk image. Click Start to continue.
Browse for and select the appropriate ESXi disk image.

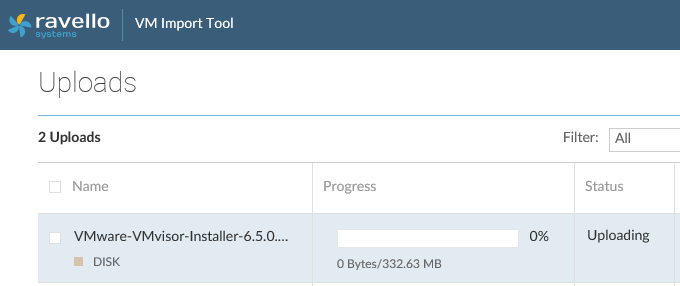
View the progress from the Uploads screen.
Once the upload has completed, navigate back to your Ravello account. The ISO can now be seen in the Disk Image Library.

Create Application and Install VMware ESXi
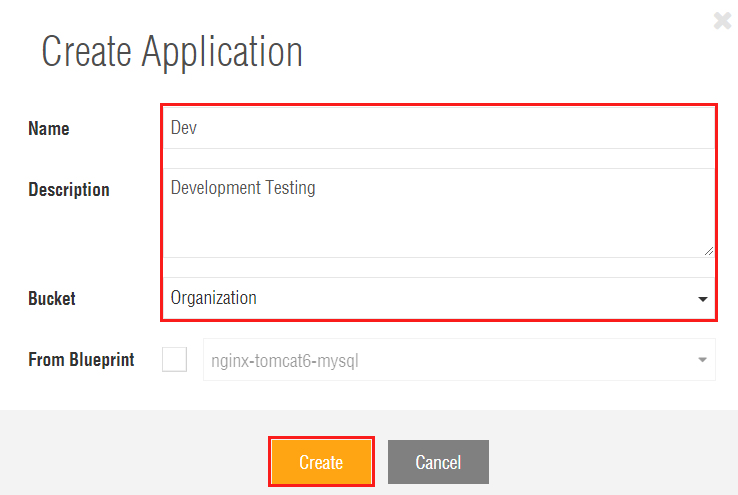
The next step will be to create an application. Applications are encapsulated sets of virtual machines, networks, and storage devices that are configured and subsequently deployed to the cloud. These applications can consist of a single vm or multiple vms. From the Applications tab, select Create Application.

Enter the Application Name, Description, and preferred Bucket. Click Create.
In order to install VMware ESXi via ISO, use the Empty ESX VM. This VM is enabled for ESXi support. Click the Plus sign in your Application and locate Empty ESX from the Available VMs. Next, drag the Empty ESX VM onto your Canvas. Everything on the Canvas represents your multi-vm application.

Next, we will edit the settings of the hypervisor. For this tutorial, we will focus on adding the uploaded ISO to the empty esx for boot. However, various settings can be set from the configuration tabs. Similar to machine setup in vSphere, you can configure name, CPU, RAM, disks, NICs, etc. Browse through the tabs and configure your machine as needed.
To attach the ISO to the VM, navigate to the Disks tab. Under the cdrom disk click Browse.
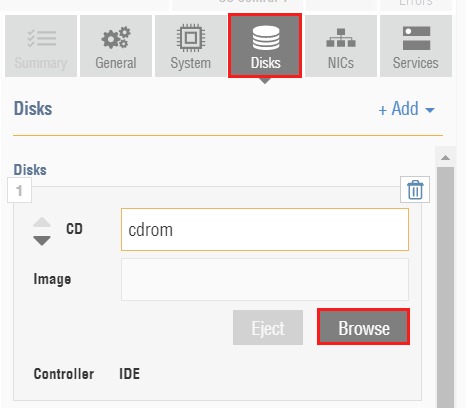
From the record of disk images, select the appropriate ISO.

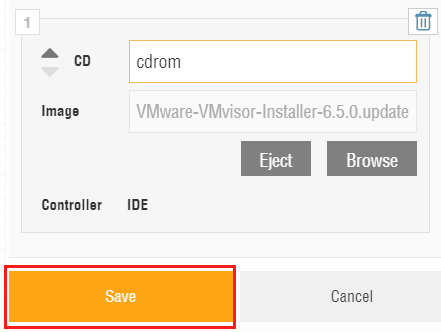
Once the ISO is attached and the settings properly configured, click Save.
If there are any additional VMs to be added to your application, do so at this point. When ready to deploy the machines, click Publish on your application.

Before the application is published, you will have a chance to review the configuration and pricing. Optimizations can also be set depending on cost or performance preferences. Click Publish to deploy the application.

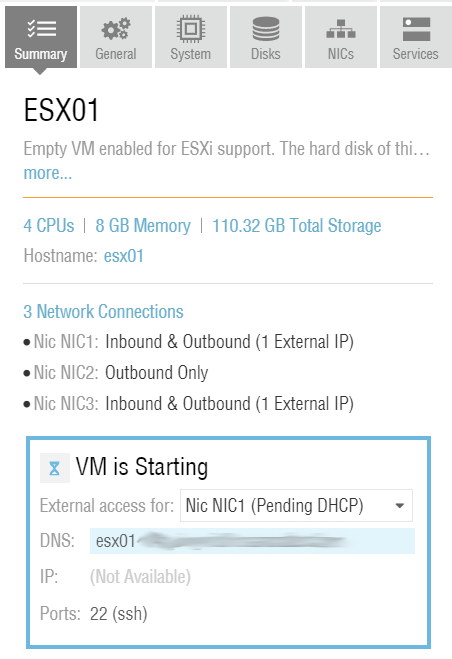
The VM(s) will begin to fire up.
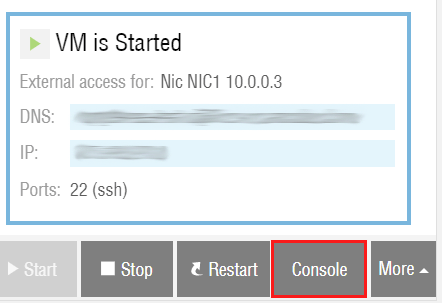
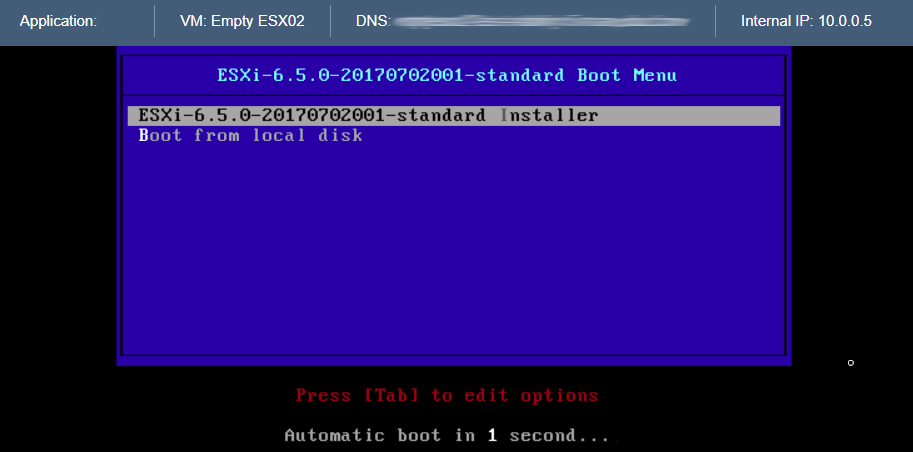
Once the machine is started, click Console to remote session to the VM.
A remote console window will open to the VM to begin ESXi installation.
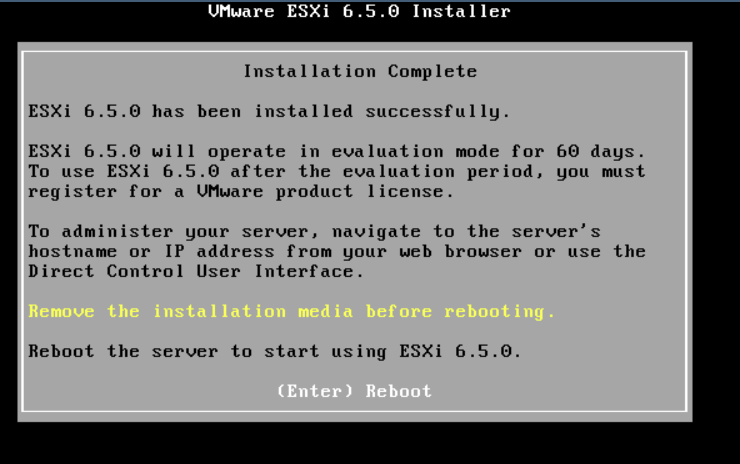
After installation completes, you will be prompted to remove the ISO before rebooting.
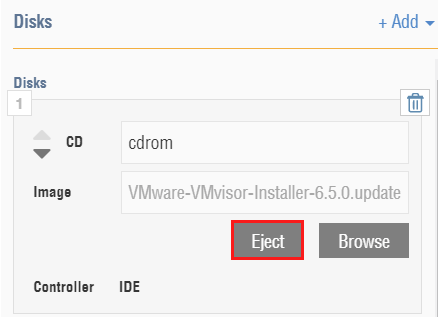
To remove, navigate back to the VM in the Ravello application. Under the VM’s Disk tab, Eject the ESXi ISO.
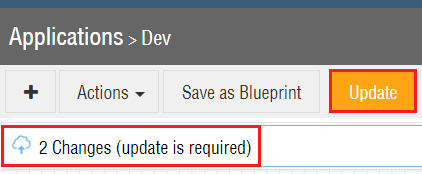
Select Update on the application to apply the changes.
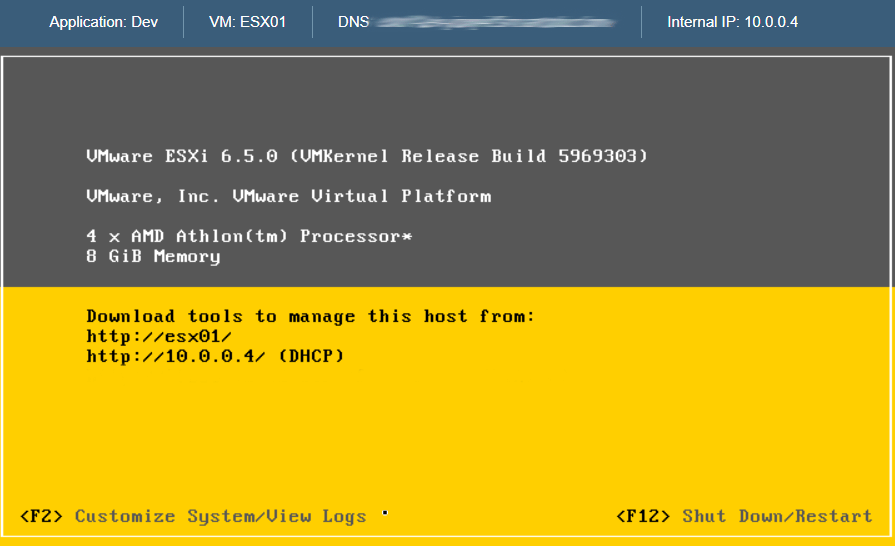
As the server reboots, continue to monitor the console. If the ISO ejected properly, the machine will boot into VMware ESXi.
Oracle – Ravello Overview
Related Posts