Restore Deleted AD/Office 365 User in AD Connect Environment
In this post, we will walk through the process of restoring a deleted user in an environment that leverages Directory Sync/Azure AD Connect. The process isn’t overly intensive – It entails restoring the deleted user in Office 365, restoring the Active Directory account, and performing a hard match between the on-prem and cloud account. In our case, we will restore the Active Directory object from Veeam as the environment did not have the AD recycle bin enabled.
Restore Deleted User in Microsoft 365
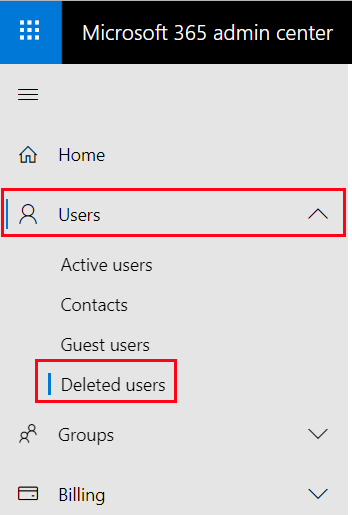
To begin, navigate to the Microsoft 365 Admin Center. Under Users, select Deleted Users.
Select the pertinent user and click Restore.
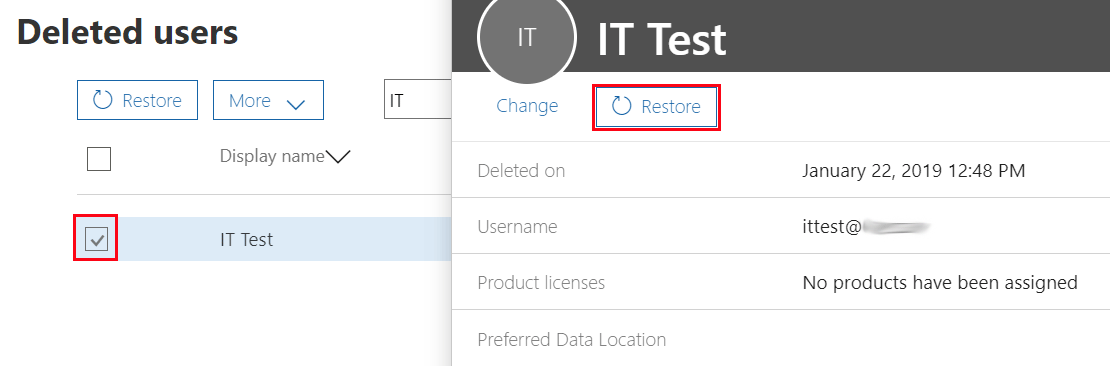
Next, choose to auto-generate or manually create a password. When finished, select Restore.

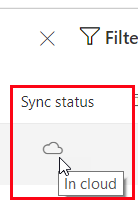
Looking at the restored user, we can see they are Active and their Sync status is In Cloud.
Next, we will restore the user in Active Directory.
Restore Active Directory User from Veeam
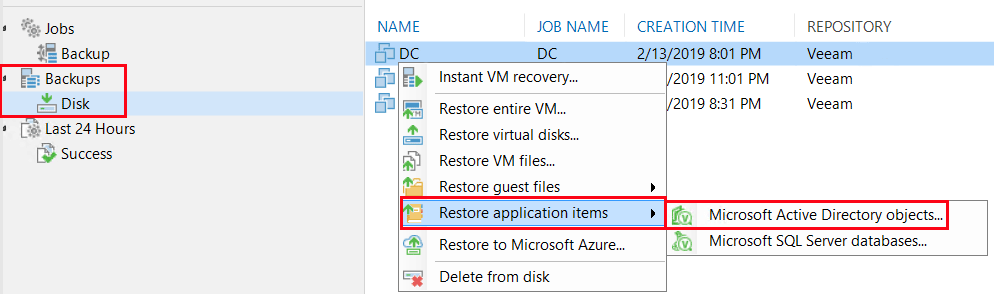
As mentioned early, this environment didn’t have the Active Directory Recycling bin enabled. Therefore, we will restore the AD object from Veeam.
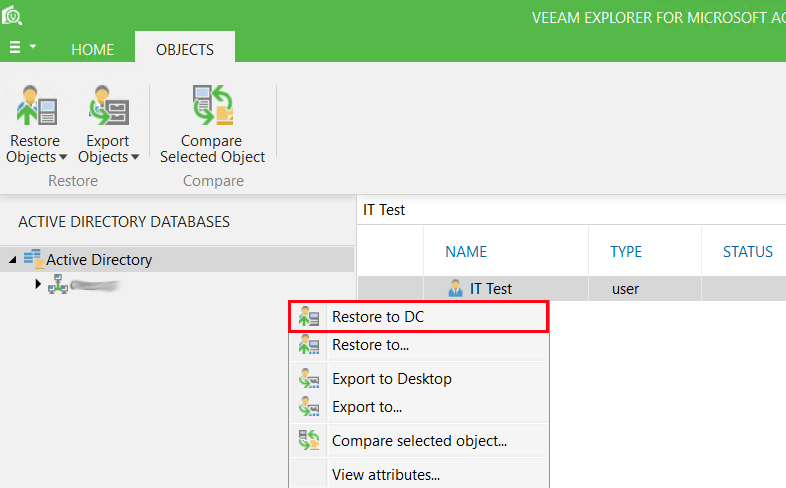
To begin, log into the Veeam console and locate your Active Directory server from Disk Backups. Right-click the server and select Microsoft Active Directory Objects from the Restore Application Items option.
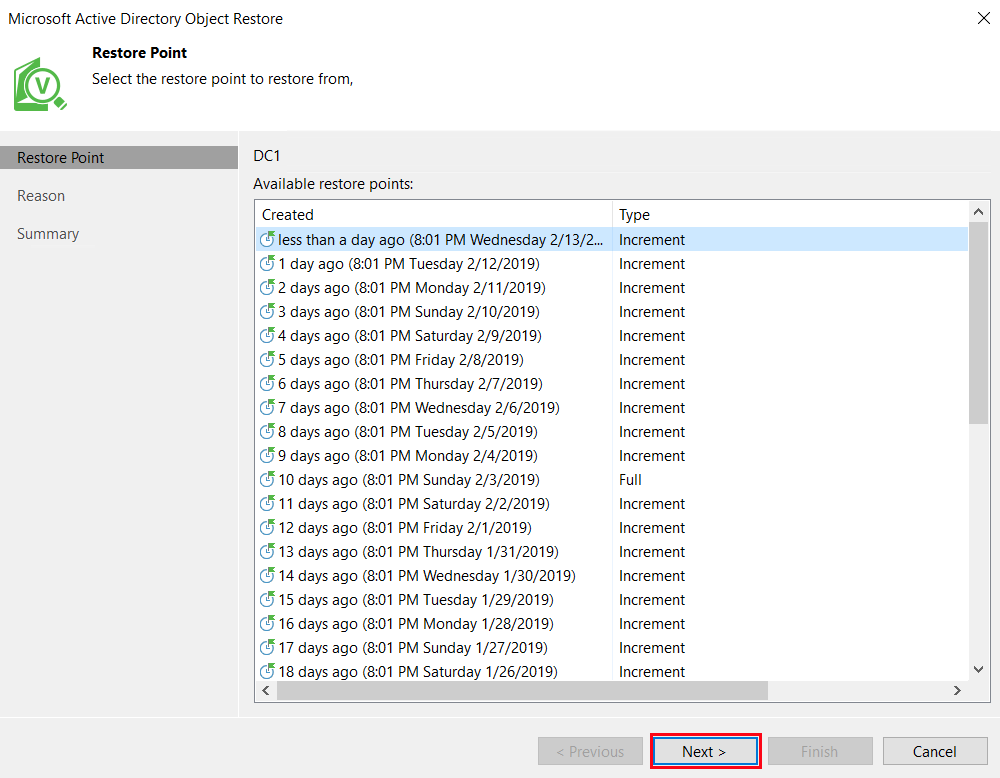
Next, select the restore point where the AD user was still active.
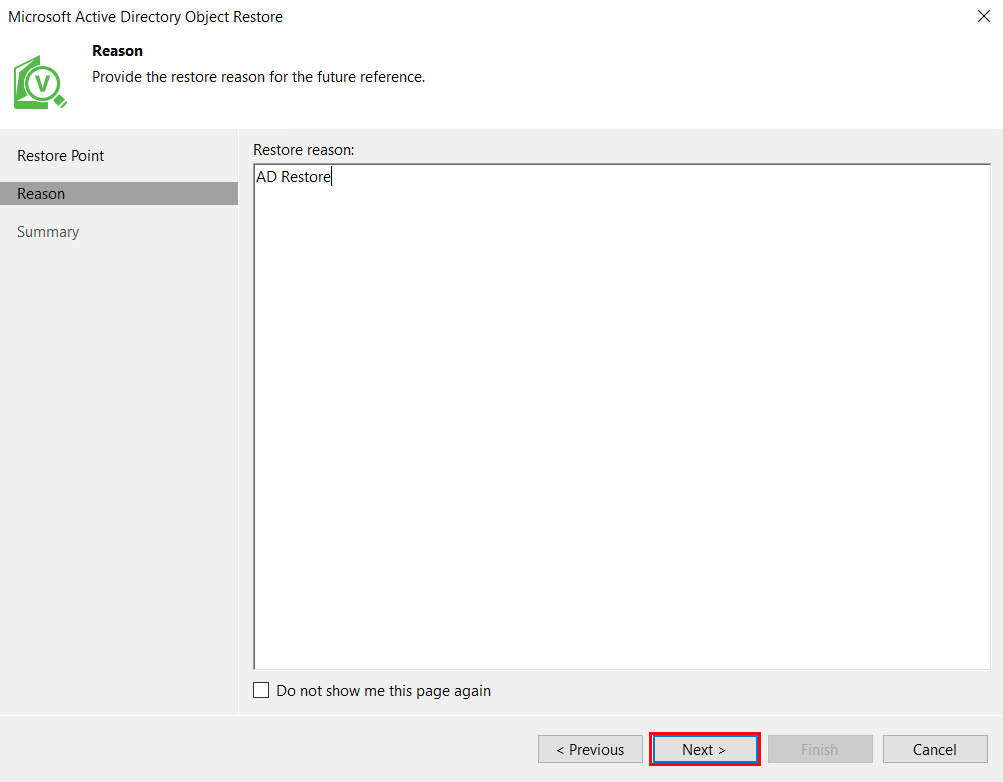
Enter a Restore Reason.
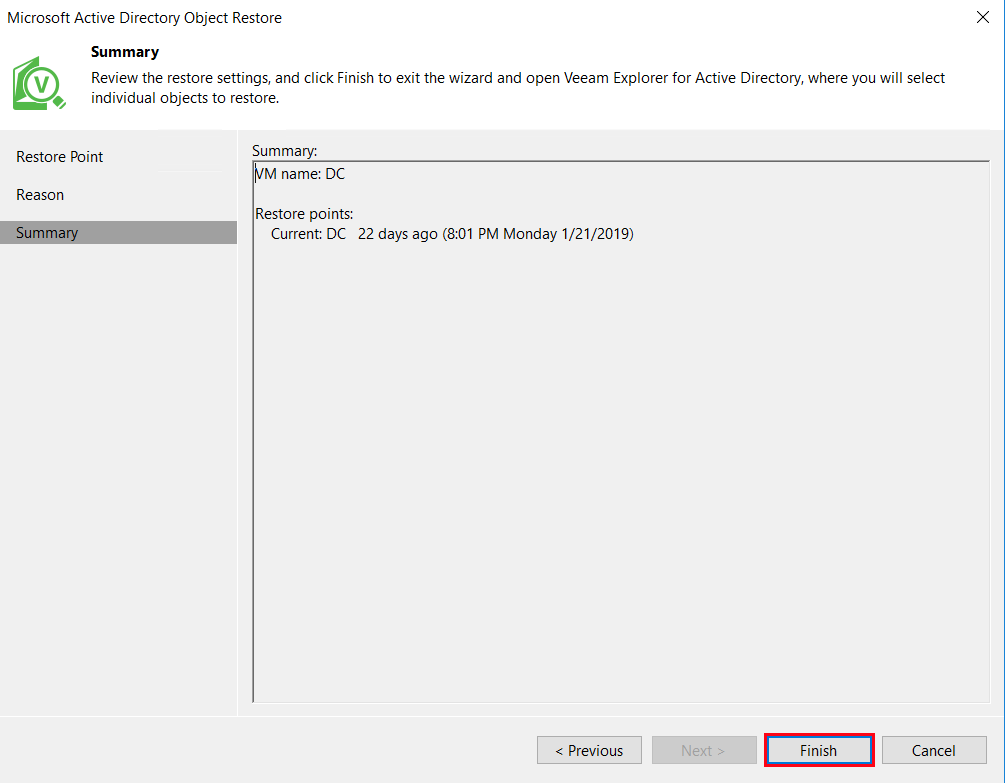
Review the restore settings. Once you click Finish, the restore point will be mounted.
After the point has mounted, locate the pertinent user from the Active Directory database. Right-click the user and choose the location for restore. In our case, we are going to restore the object directly back to the AD server.
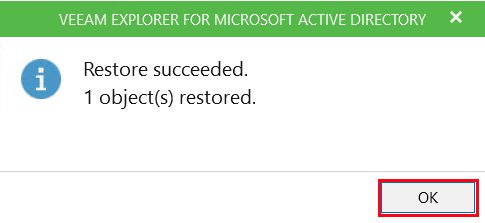
Verify the restore was successful.
Now that the user has been restored, we will match the AD account with the cloud account, so there is no mismatch during the next synchronization.
Hard Match Users with AD Connect
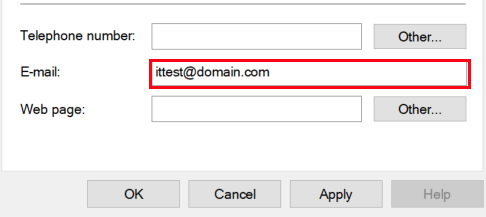
Navigate to Active Directory and locate the recently restored user. First, verify their e-mail is populated.
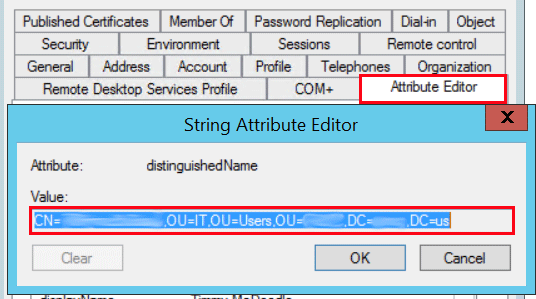
Next, from the Attribute Editor tab, locate and copy the distinguishedName value.
Once we have the distinguishedName, we will use LDIFDE commands to export the users objectGUID. Open PowerShell and run the below command. Paste the distinguishedName value in between the parentheses.
Ldifde -d “paste distinguishedName here” -f C:\User1.txt
![]()
After the command has completed, open the output text file and locate the objectGUID.

Navigate back to Powershell and run the Connect-MsolService command to connect to Azure Active Directory. Once connected, run the Set-MsolUser command to set the recently exported objectGUID as the ImmutableID for the user.
Set-MsolUser -UserPrincipalName name@domain.com -ImmutableID “paste ObjectGUID here”
![]()
Lastly, run we will run an Azure AD Connect manual sync to connect the accounts.
Start-ADSyncSyncCycle -PolicyType Delta

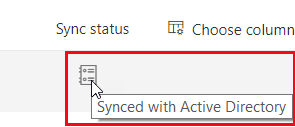
Now, when we look at the account in 365, the Sync Status shows Synced with Active Directory.